
In class we spent a lot of time learning how to use InDesign. InDesign is a very unique program that allows you to be as creative as you and and it gives you the tools you need to create some very interesting posters, business cards, banners,or whatever else it is that you wish to create. In this case, I used InDesign to make a calendar for a human society.
The calendar was one of the easier InDesign products that we were asked to do because it was fairly simple to create. The most challenging part of the project was to place the image into a frame and fit it proportional to that frame. After the image is placed and sized the right way it is very easy to just use the line tool to create the table.
Another tool that we were taught to use in this assignment was the Master Page tool. This tool is very useful when you are trying to create multiple pages with the same layout but slightly different content. Using Master Pages, you can create a calendar page like this one and then simply change the color and image and month and have a whole new calendar page in seconds.
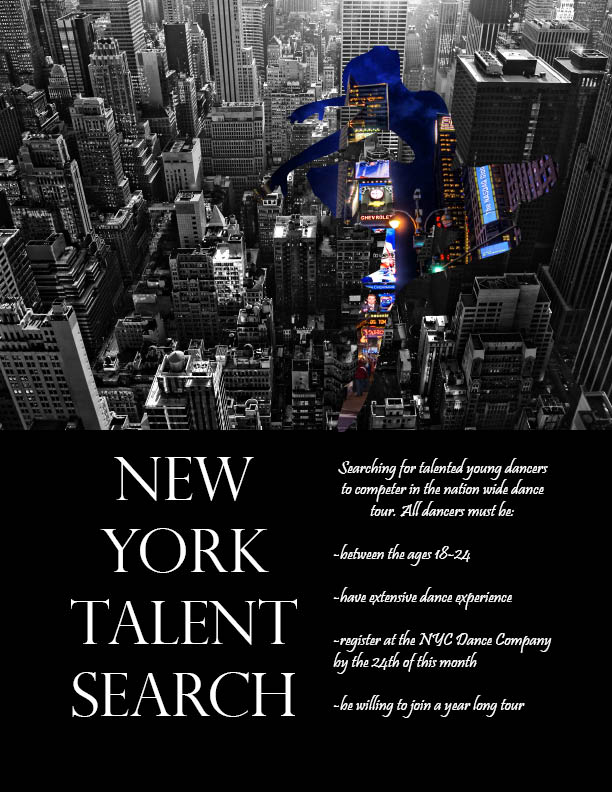
This flyer is another example of an InDesign project that we were assigned in class. While the flyer has a layout design a lot like the Humane Society calendar, it was a lot more difficult to create. My flyer is advertizing a New York Talent Search that is looking for yound talented dancers to audition to go on a nationwide tour. To create this flyer, I had to find two images from the web. Both of my images are of New York City; however, one is in black and white and one was in color. Instead of having just two boring pictures of New York on the flyer we were asked to place the image into a different image. This is where things got tricky. To do this we used an option called clipping-path to detect inner and outer edges of an image and create a frame out of it. Once the image is converted to a frame you can place another image into it.
I love the clipping path option because I think that placing images into unique frames is a very interesting and eye-catching way to draw attention to a flyer. The dancer in this flyer with the colorful New York image placed inside her is a great way to show what the flyer is about and also to generate a lot of interest about the event and make people want to participate it. You can use the clipping path and outline tools to create many different kinds of media by using InDesign.